Learn more


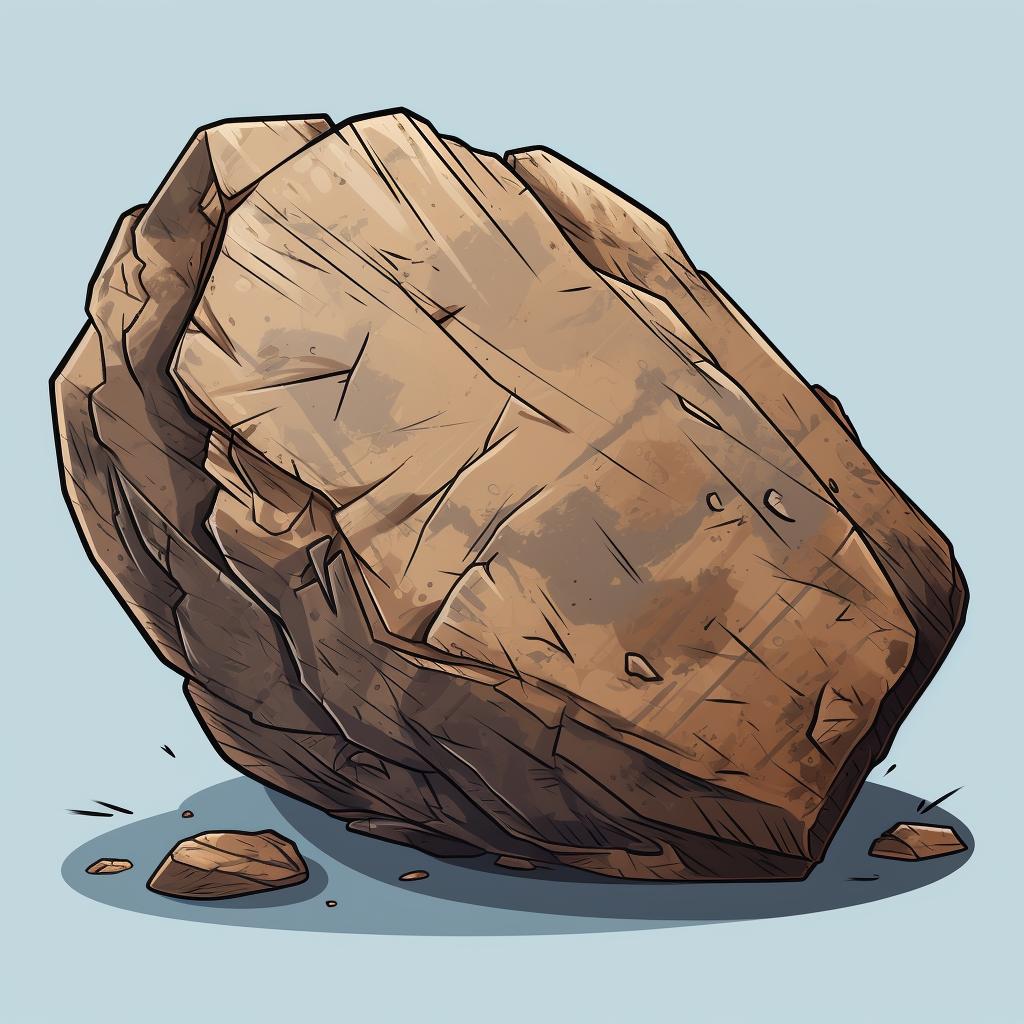


Are you ready to become a rock tumbling expert? One essential skill to master is the scratch test. In this step-by-step guide, we'll walk you through the process of conducting a scratch test to determine the hardness of a rock.
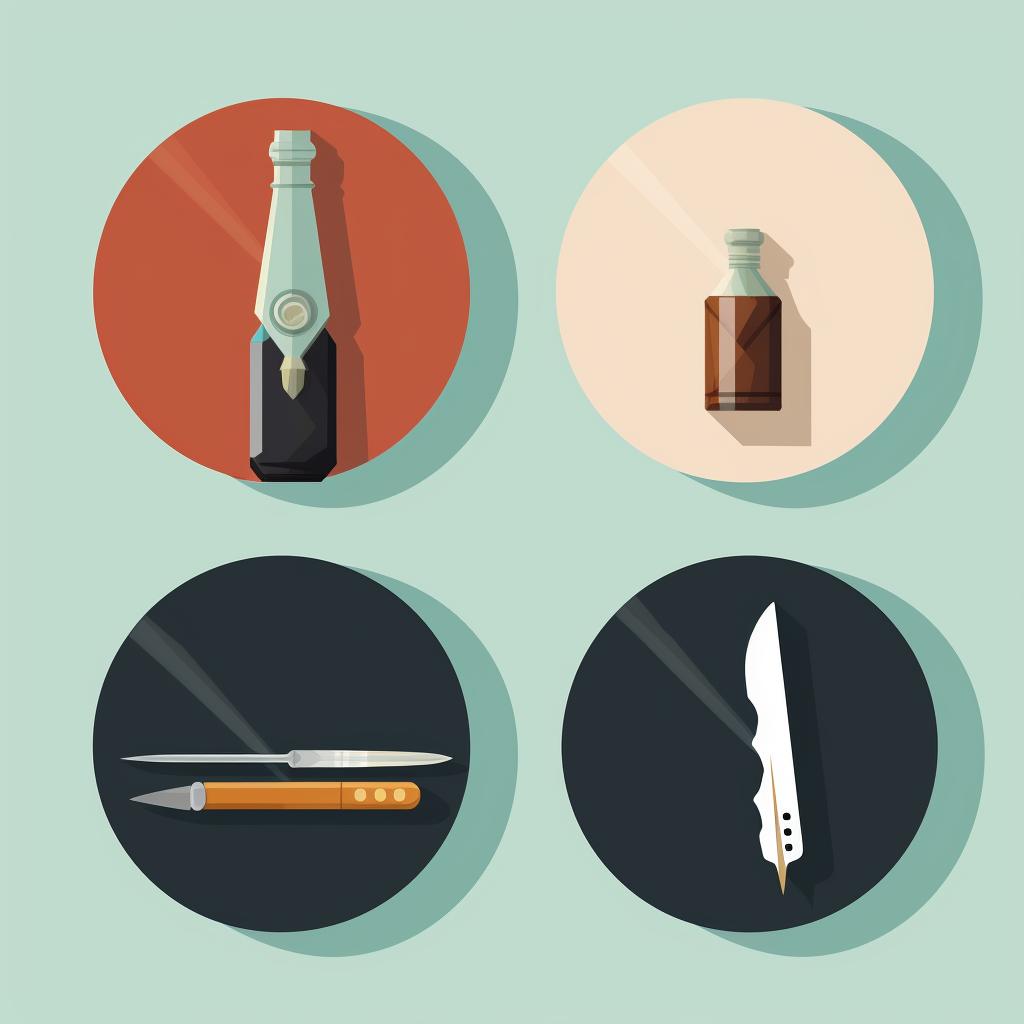
Step 1: Gather Your Tools
To begin, you'll need an object of known hardness. This could be a fingernail, a copper penny, a steel knife, or a piece of glass. These objects will serve as your testing tools.
Step 2: Attempt the Scratch
Take your chosen object and attempt to scratch the rock. Apply enough pressure to make a noticeable mark, but be careful not to break either the object or the rock. This step will help you determine whether the rock is harder than the testing object or vice versa.
Step 3: Observe the Results
After making the scratch, carefully observe the results. Does the object scratch the rock, or does the rock scratch the object? This observation will give you an indication of which material is harder.
Step 4: Repeat with Other Objects
To further narrow down the hardness range of your rock, repeat the process with objects of increasing hardness. Start with a softer object and gradually work your way up until you find one that the rock can scratch. This step will help you determine the relative hardness of the rock.
Step 5: Compare with the Mohs Hardness Scale
Finally, compare your results with the Mohs Hardness Scale. This scale, developed by Friedrich Mohs, assigns a hardness value to various minerals, ranging from 1 (softest) to 10 (hardest). The highest number object that your rock can scratch is likely its hardness on the Mohs scale.
By following these steps, you can gain valuable insights into the hardness of different rocks. This knowledge is crucial for selecting the right tumbling techniques and materials for your rock tumbling journey.
Remember, the scratch test is just one method for determining the hardness of a rock. Other tests, such as the acid test or specific gravity test, can provide additional information. However, the scratch test is a simple and accessible starting point for beginners.
So, grab your tools, conduct the scratch test, and unlock the secrets of rock hardness. Happy tumbling!
Learn more about rock tumbling and polishing in our comprehensive guide. Discover the best equipment, techniques, and tips to become a rock tumbling expert.
All Rights Reserved © 2025